How to Test a Controller and Diagnose Stick Drift
Check every button, trigger and stick in your browser, then work out whether drift is dirt, a worn potentiometer, or a dead zone you can live with.
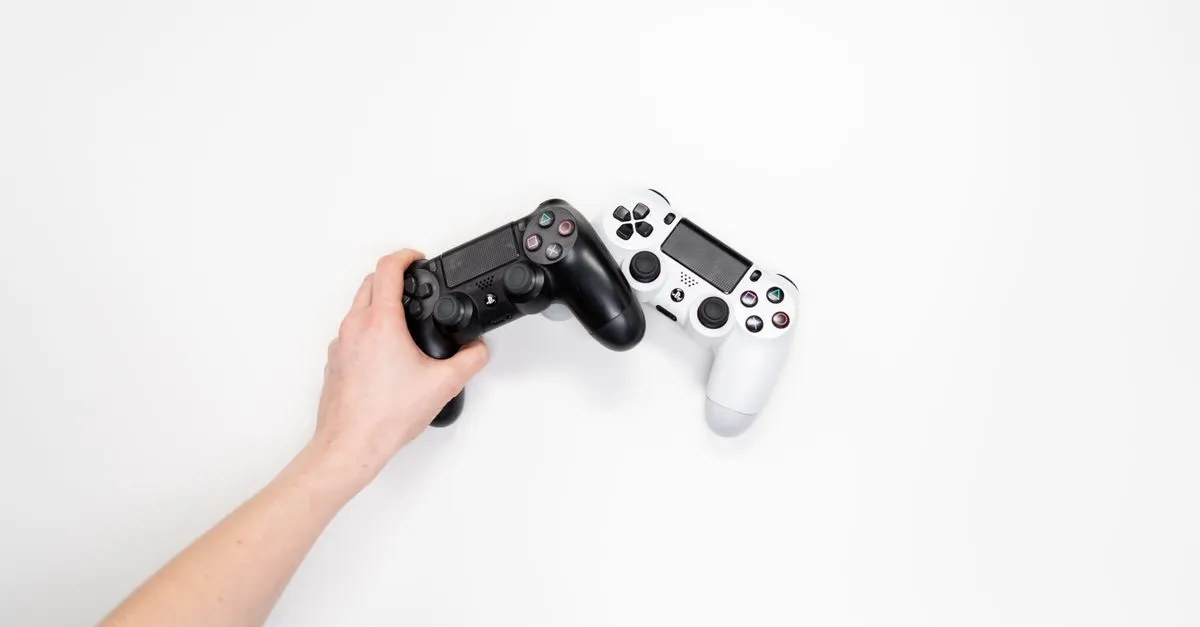
The first sign is usually subtle. You put the controller down mid-menu and the cursor keeps creeping left. Or you notice you have been fighting the camera all evening, nudging it back right every few seconds without really registering that you were doing it.
That is stick drift, and it takes about thirty seconds to confirm. Open the Gamepad Tester, press a button so the browser admits your pad exists, let go of the sticks, and watch the dot. If it sits still at dead centre, your sticks are fine. If it parks off to one side, you have a number instead of a suspicion.
What the drift check actually measures
The dot position comes from two axis values between −1 and 1. A released stick should report something close to 0.00 on both. In practice almost nothing reads a perfect zero, so the check samples for two seconds and reports the worst offset it saw.
Under about 0.02 is normal. Around 0.05 you will never notice it in a game. Past 0.15 the stick is actively sending movement while your thumb is nowhere near it, and that is when characters walk into walls on their own.
The check also prints the smallest dead zone that would mask the problem. That number is the real cost of drift: a 20% dead zone means the first fifth of the stick’s travel does nothing, so slow aiming adjustments disappear entirely. You can hide drift in software, but you pay for it in precision.
Why sticks go bad in the first place
Most analog sticks are two potentiometers — a wiper dragging across a carbon track, one per axis. Every hour of play scrapes a little more of that track away, the resting resistance shifts, and the controller starts reporting movement that is not happening. It is wear, not a defect, which is why drift shows up on expensive pads too.
It became a famous problem with the Switch Joy-Con. The complaints got loud enough that Nintendo began repairing them free of charge regardless of warranty status, and in July 2020 its president apologised publicly for the trouble. The DualSense and the Xbox Elite Series 2 have both collected their own lawsuits since.
Hall effect sticks use magnets and have nothing to wear out. Replacement modules for several popular controllers cost around twenty dollars, and fitting one into a DualSense is a soldering job of maybe an hour if you have done it before.
Before you buy a new controller
Work through these in order. The first two fix more pads than you would expect:
- Clean it. A drop of isopropyl alcohol under the rubber boot, then rotate the stick through its full range for thirty seconds. Dust and skin oil on the track cause plenty of mild drift.
- Recalibrate. Steam has a controller calibration page, Windows still has the old “Set up USB game controllers” dialog, and DS4Windows handles PlayStation pads. Calibration teaches the software where this stick’s real centre is.
- Update the firmware. The Xbox Accessories app and the PS5’s own controller update both ship stick-handling fixes now and then.
- Try a cable. A Bluetooth pad that drops inputs or feels laggy often behaves perfectly on USB, and that tells you the sticks were never the issue.
The rest of the pad is worth checking too
While you are in there, pull the triggers slowly and watch the numbers. They should climb smoothly from 0.00 to 1.00. A trigger that jumps, or stops at 0.90, has a worn sensor — on heavily used Xbox pads this fails before anything else does.
Press every face button and bumper as well. A button that needs two attempts, or registers twice from one press, usually has debris under it rather than a dead switch.
Suspect a stick? Run the drift check and get a number before you spend anything.